自上次发布了文章后有些网友就说不能实现效果,根据自己的实验发现确实有此事,那是因为版本的变化问题。这次基于yum仓库里的jupyter notebook 5.0.0版本实现;
系统:最小化安装[习惯性]
关闭防火墙:
systemctl stop firewalld && systemctl disable firewalld
禁用SELINUX:
[root@jupyter ~]# sed -i 's#SELINUX=enforcing#SELINUX=disabled#g' /etc/selinux/config
[root@jupyter ~]# setenforce 0
添加EPLE源:
rpm -ivh http://mirrors.yun-idc.com/epel/epel-release-latest-7.noarch.rpm
安装部分可能用到的依赖包:
yum install vim openssl-devel readline-devel python-devel python-pip -y
Python-3.5.2 编译安装:
tar xf Python-3.5.2.tgz
cd Python-3.5.2
./configure --prefix=/usr/local/python-3.5.2
make && make install
创建一个软连接
ln -sf /usr/local/python-3.5.2/bin/python3 /usr/bin/python3
ln -sf /usr/local/python-3.5.2/bin/pip3 /usr/bin/pip3
这样就安装完Python3了;
接下来安装jupyter:
pip install jupyter //这命令默认使用的是Python2.7.5版本安装;
安装完后即可以启动:jupyter-notebook
jupyter-notebook
如果在启动的时候提示,说明默认不建议使用root来运行,不过我们可以配置文件修改,接下来会介绍如何修改;
[C 15:03:06.778 NotebookApp] Running as root is not recommended. Use --allow-root to bypass.
在上一次的版本中直接执行jupyter notebook —generate-config即可初始化配置文件来,但是新版的要加入--allow-root才行;
[root@pydev ~]# jupyter notebook --generate-config --allow-root
Writing default config to: /root/.jupyter/jupyter_notebook_config.py
创建一个密码:[这样就不用每次复制URL地址]
[root@jupyter ~]# ipython
Python 2.7.5 (default, Nov  6 2016, 00:28:07)
Type "copyright", "credits" or "license" for more information.

IPython 5.3.0 -- An enhanced Interactive Python.
?         -> Introduction and overview of IPython's features.
%quickref -> Quick reference.
help      -> Python's own help system.
object?   -> Details about 'object', use 'object??' for extra details.

In [1]: from notebook.auth import passwd

In [2]: passwd()
Enter password:
Verify password:
Out[2]: 'sha1:da874cad4309:4104089e5ef97c8fcbe69c2ac7d6a1071ca50a40'
修改配置文件中的IP地址、工作目录、并添加一个认证密码:
62 #c.NotebookApp.allow_root = False
去掉62行的注释,并修改成True即可解决root权限运行的问题。
163 #c.NotebookApp.ip = 'localhost'
去掉注释,并把localhost改成0.0.0.0,这样就可以外部访问了,默认只有在本机可以访问的;
163 c.NotebookApp.ip = '0.0.0.0'
203 #c.NotebookApp.notebook_dir = u''
改成如下,这样就会默认把notebook上创建的文件保存到指定目录下;需要事先创建。
203 c.NotebookApp.notebook_dir = u'/opt/jupyter'
218 #c.NotebookApp.password = u''
加入上面创建的密码
218 c.NotebookApp.password = u'sha1:da874cad4309:4104089e5ef97c8fcbe69c2ac7d6a1071ca50a40'
这里就是行号有所变化;根据关键字查询即可;
保存,重新运行程序:
[root@jupyter~]# jupyter-notebook
[I 15:20:53.313 NotebookApp] Serving notebooks from local directory: /opt/jupyter
[I 15:20:53.313 NotebookApp] 0 active kernels
[I 15:20:53.313 NotebookApp] The Jupyter Notebook is running at: http://0.0.0.0:8888/
[I 15:20:53.313 NotebookApp] Use Control-C to stop this server and shut down all kernels (twice to skip confirmation).
[W 15:20:53.313 NotebookApp] No web browser found: could not locate runnable browser.
URL地址:10.0.10.253:8888
密码:123456
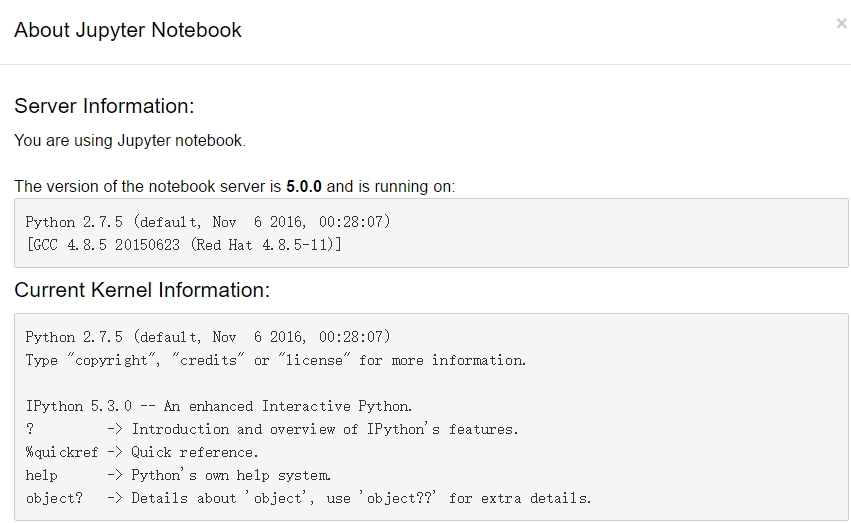
不过在查看版本的时候还是有个问题,就是切换了python版后,使用命令还是一样显示为python2.7.5
